From Roof to Running System
What a solar decision actually involves, and the stages a HelioNest project moves through.
The Questions Worth Answering First
Before system size or pricing, these are the things worth being clear on.
01How much solar can my roof support?
It comes down to usable roof area, shading from nearby structures or trees, and roof type. A flat RCC roof and a metal shed roof carry different amounts of panel capacity for the same footprint — this is one of the first things we check at assessment.
02What system size actually fits my usage?
Bigger isn't automatically better. We size a system against your actual electricity consumption and how it's spread through the day, so you're not paying for capacity you can't use or under-sizing for what you actually need.
03What does installation involve?
Roof mounting, wiring back to your electrical panel, an inverter, and coordination with your DISCOM for the net-metering connection. Most of this is scheduled around your routine, with any required shutdown windows planned in advance.
04How do I know the economics make sense?
That depends on your consumption pattern, tariff, upfront budget and how long you plan to hold the property — inputs that are specific to you, not a generic number. We work through this with you at the proposal stage rather than quoting a one-size figure upfront.
The Shape of a Project
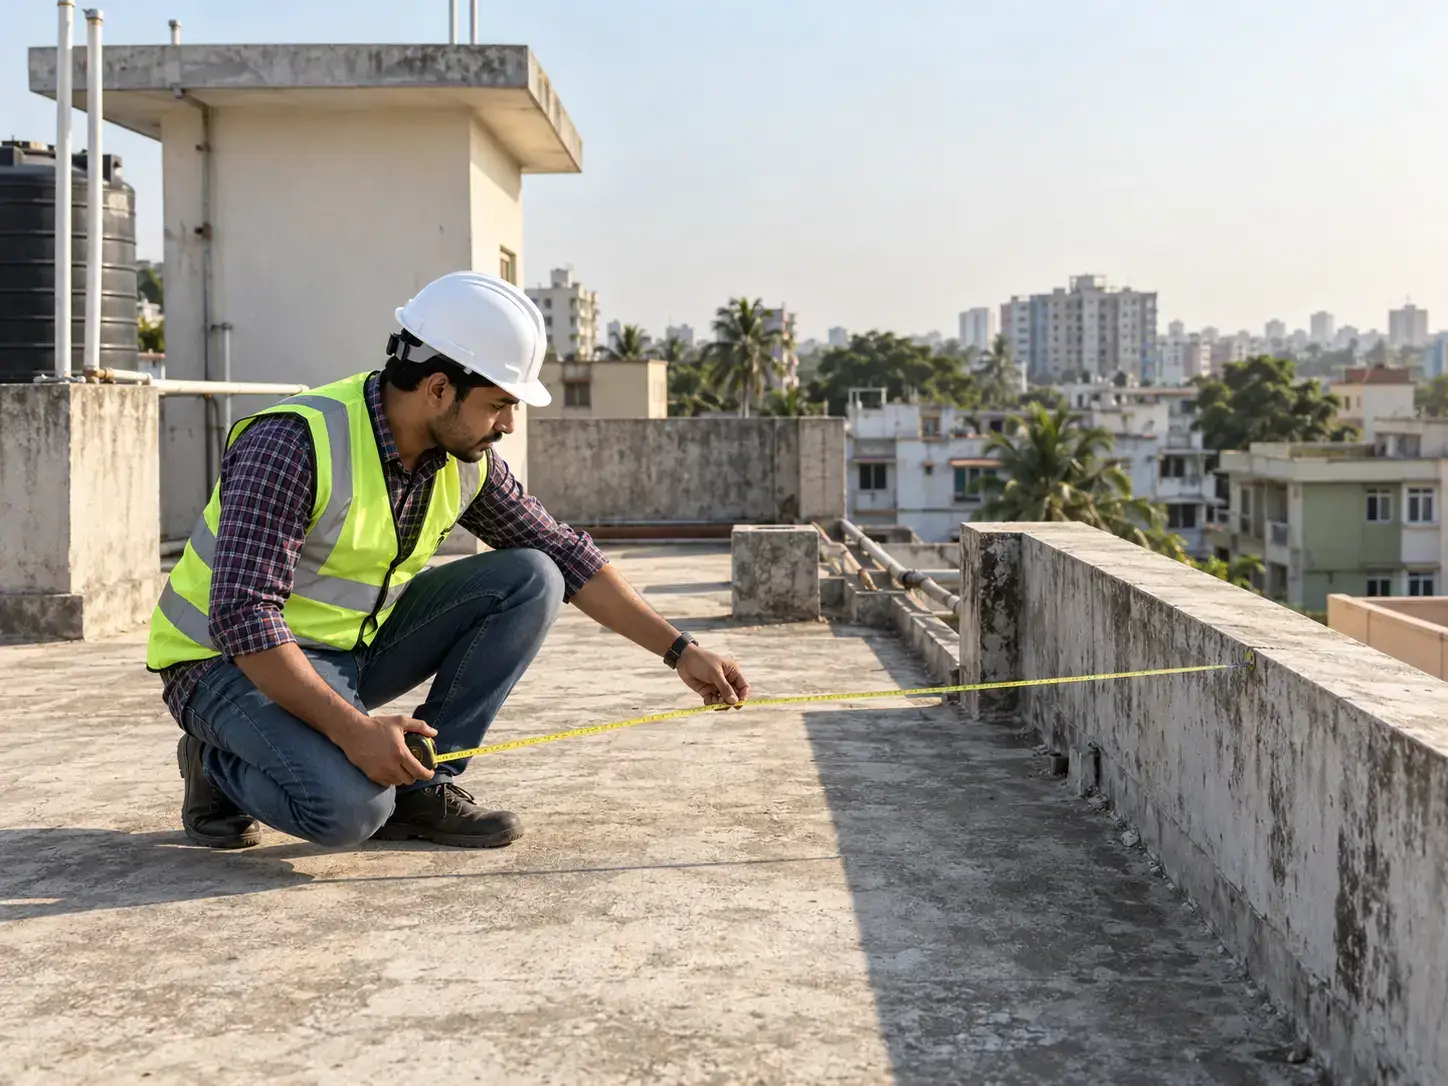
The Site Visit Is the Real Turning Point
Everything before the site assessment — the quick estimator, the calculator, an initial phone call — is a starting point. The site visit is where roof structure, shading, electrical panel condition and access actually get checked, and where an estimate turns into a real design.
Six Stages, In Detail
No fixed timeline is quoted here — real timing depends on system size, approvals and site readiness, and is confirmed once a project is proposed.
Initial conversation
A short call or WhatsApp exchange to understand your property, your electricity bill and what you're trying to solve.
Electricity + roof review
We look at your recent bills and available roof photos or plans to form an early view of feasibility and rough system size.
Site assessment
A physical visit to check roof condition, structure, shading, electrical panel and access — the step that turns estimates into an actual design.
System proposal
A concrete proposal: system size, equipment, layout, indicative cost and what the net-metering process looks like for your address.
Installation planning
Scheduling, material readiness and any required documentation are lined up before work begins on your roof.
Commissioning & handover
The system is tested, connected, and you're walked through monitoring and basic upkeep before we sign off.
What’s Actually on Your Roof
The parts an assessment needs to account for, from mounting to monitoring.
Solar panels
Convert sunlight into DC electricity. Mounted in rows across your available roof area.
Mounting structure
Holds panels at the right angle and height, engineered for your roof type and local wind load.
Inverter
Converts the panels' DC output into the AC power your home or business actually uses.
Electrical protection
Fuses, isolators and earthing that keep the system safe to operate and safe to service.
Net meter / grid interface
A bidirectional meter installed by your DISCOM that tracks power exported to and imported from the grid.
Monitoring
An app or dashboard, usually via the inverter manufacturer, showing how much the system is generating.